What is an In-Wall Countdown Timer and How to Use It?
In today's fast-paced world, managing time effectively has become essential. An In-Wall Countdown Timer offers a unique solution for those seeking to streamline their daily routines. This innovative device allows users to set specific time intervals for various tasks, from cooking meals to controlling lights. Imagine being able to automate your home environment with just a few clicks.
The In-Wall Countdown Timer is not just a gadget; it’s a practical tool that enhances convenience. Users can easily program it for tasks that require precise timing. For example, it can help you ensure your laundry cycles are perfect. This versatility makes it suitable for both homes and offices. However, it's important to learn its features fully to avoid common pitfalls.
Like any device, an In-Wall Countdown Timer may have a learning curve. Users should take the time to familiarize themselves with its settings. This understanding can maximize its benefits. Without it, you might miss out on important features. It's advisable to think critically about its setup and usage. By addressing these considerations, you can effectively harness the full potential of this timer.
What is an In-Wall Countdown Timer?
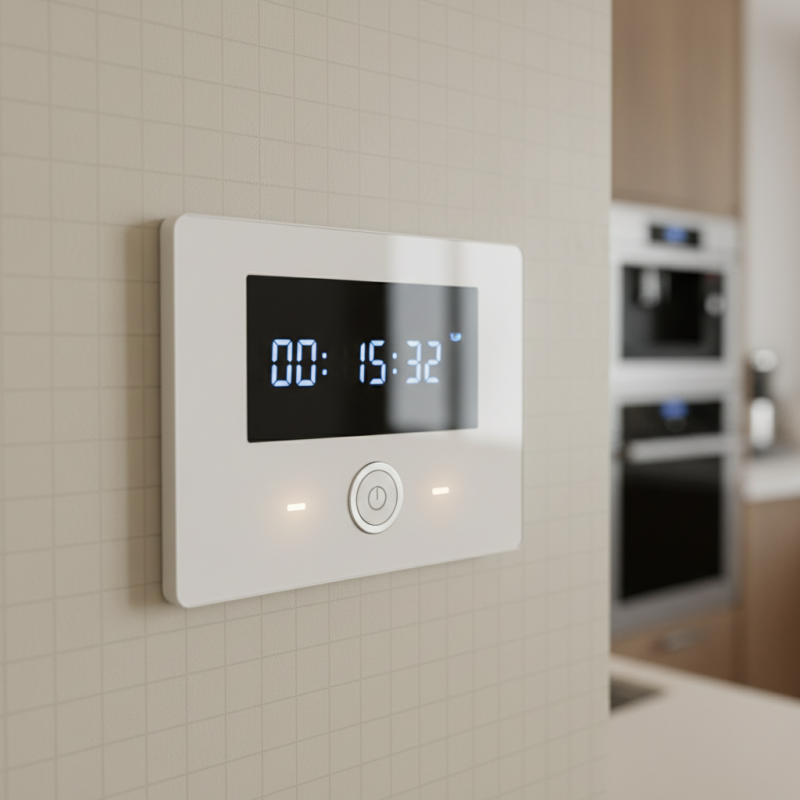
In-wall countdown timers are innovative devices designed to regulate power usage in home automation. They are installed directly into the wall, replacing traditional light switches. These tools help you manage lighting, fans, or other appliances with ease, enhancing energy efficiency. They can be programmed to turn off devices after a preset time, which is especially useful in rooms like bathrooms or kitchens.
Using an in-wall countdown timer is straightforward. You typically set the duration with a simple interface, often featuring a dial or buttons. Some units offer digital displays to provide accurate countdowns. This means you can walk into a room, set the timer, and leave without worrying about leaving the lights on. However, installation can be tricky for those without experience in electrical work. It’s essential to read the manual carefully to avoid mistakes.
While the benefits are clear, it's worth noting potential issues. Sometimes the timer might not function as expected, leading to frustration. You might find yourself adjusting the settings repeatedly. It's important to understand the product fully and seek professional help if needed. Overall, in-wall countdown timers present a smart solution for energy control, but they require some thought and care in use.
Benefits of Using an In-Wall Countdown Timer
An in-wall countdown timer offers numerous benefits for home and business use. These devices enhance convenience by allowing users to automate lighting, heating, and other electrical systems with precision. According to a report by the American Council for an Energy-Efficient Economy, timer controls can save households up to 15% on energy costs annually. This is particularly valuable in reducing waste and optimizing energy usage.
A countdown timer contributes to safety by ensuring lights are off after a set period, reducing fire risks associated with left-on appliances. In commercial settings, timers can help manage operating hours efficiently, a practice endorsed by the U.S. Department of Energy as a way to enhance operational efficiency. Properly implemented, these devices can lead to substantial energy cost savings over time.
Tip: Consider adding timers to outdoor lighting to deter intruders. A well-timed outdoor light gives the appearance of an occupied home, adding an extra layer of security.
In user feedback, some have noted installation challenges. An incorrect setup can lead to frustration. Ensuring a proper understanding of wiring diagrams is crucial. It's recommended to consult a professional, especially if unsure about electrical work.
How to Choose the Right In-Wall Countdown Timer for Your Needs
When selecting an in-wall countdown timer, consider your specific needs. Assess the number of devices you want to control and their respective wattage. According to industry reports, timers can handle up to 15 amps, managing devices like lights and appliances efficiently. This information is crucial for avoiding overloading circuits, which can lead to failures or hazards.
Think about the timer's features. Some models offer programmable schedules or manual overrides. Research shows that a timer with a user-friendly interface can significantly reduce setup time. You’ll want to ensure the selected model integrates well with your existing home automation system. Make sure to check compatibility with other smart devices, as this can enhance your home’s efficiency.
Don’t overlook the aesthetic factors. Timers come in various designs and colors. Choose one that matches your home decor. A mismatched timer can detract from your overall aesthetic. Pay attention to the installation process as well. Some timers may require professional installation, which can add to your overall costs. Weigh the long-term benefits against the immediate challenges to find the best fit.
Step-by-Step Guide to Installing an In-Wall Countdown Timer
Installing an in-wall countdown timer can greatly enhance your home’s automation. These devices allow you to easily manage lighting, heating, or appliances with a set time limit. According to the U.S. Department of Energy, smart home devices can save homeowners 15% on energy bills. This is a compelling reason to consider an in-wall countdown timer.
To install an in-wall countdown timer, you'll need some basic tools. First, ensure the power is off at your circuit breaker. Then, remove the cover plate of the existing switch and unscrew the switch box. Carefully disconnect the wires from the old switch. Make sure to label each wire to avoid confusion. Connect the wires to the countdown timer according to the manufacturer's instructions, and secure it back into the box. Finally, replace the cover plate and turn the power back on.
Some might find this process daunting. Not everyone is comfortable with electrical work. If any confusion arises, consulting a licensed electrician can be a wise choice. Safety should always be a priority. Additionally, the improper installation of these devices could lead to malfunction, resulting in increased energy costs or even hazards. Proper guidance and a cautious approach can ensure both safety and efficiency in using an in-wall countdown timer.
Tips for Programming and Using Your In-Wall Countdown Timer
Programming an in-wall countdown timer can enhance convenience in various settings, from home automation to office environments. Start by identifying the devices or systems you want to control with the timer. Common applications include lights, fans, or heating systems. Make sure to read the timer's manual thoroughly. Familiarize yourself with its basic functions. This initial step can save you from confusion later.
It's beneficial to experiment with different programming modes. Some timers offer daily settings while others provide a weekly schedule. Experimentation allows you to discover the most effective settings for your lifestyle. If you realize an error, don’t be discouraged. It’s common to overlook details like AM/PM settings. Attention to detail matters.
Consider the placement of your timer, too. An awkward location might make it difficult to reach and program. Thus, ensure it’s installed within convenient access. Remember, learning curves exist. You may not get it right on the first try. Embrace the process, and don’t hesitate to adjust settings for better results over time. This is a journey toward optimizing your space.