What Are the Best PV Cables for Solar Projects in 2026?
What makes a PV cable “best” in 2026 is not a single brand or headline rating. It is the cable that matches the system design, site conditions, and verified project requirements. That sounds obvious. It is often missed.
At a rooftop array or utility-scale row, sunlight, heat, moisture, abrasion, and connector fit can shape service life. On a hot roof, poor cable support can leave insulation rubbing against a sharp metal edge. Strong candidates use suitable conductors, insulation, and sheathing, with documented resistance to UV exposure and temperature cycling. Check voltage and temperature ratings, conductor size, and installation limits against module and inverter documentation. A cable’s label alone is not enough. IEC 62930 or EN 50618 documentation can help identify photovoltaic cables, but requirements vary by market and project. Confirm certificates with the manufacturer, and review traceability and test reports rather than relying only on sales claims. Look for clear cable markings and guidance on routing and connections.
This guide compares electrical performance, durability, safety, installation practicality, and lifecycle cost. It separates genuine design needs from features that merely sound impressive. A larger conductor, for example, can reduce voltage drop, yet may raise cost and complicate termination. There is no universal winner. Even experienced teams can underestimate routing damage or future maintenance access; careful review is still worthwhile. The right choice is evidence-led, site-specific, and checked before procurement.
Understanding the Role of PV Cables in Solar Projects
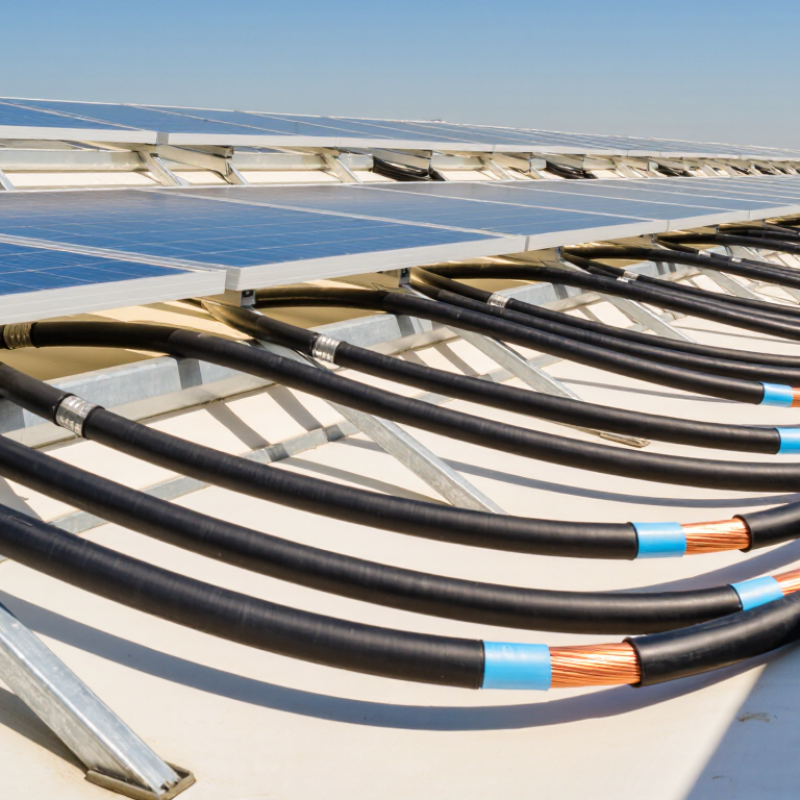
PV cables carry direct current from module strings to inverters, often across hot, exposed rooftops. Their insulation must resist ultraviolet radiation, moisture, and temperature swings. Small details matter. A cable that is undersized for its current or route can increase voltage drop and heat. Connectors, routing, and secure strain relief matter too.
The scale is substantial: IEA PVPS reported about 447 GW of new solar PV capacity installed worldwide in 2023. That growth makes reliable cable design an important part of project performance, not a minor procurement choice. NREL’s PVWatts documentation uses a 14% default for combined system losses, including wiring, mismatch, and soiling. This is not a cable-loss estimate. It is a broad planning assumption, and it cannot show where losses occur.
Designers should check conductor ampacity at expected site temperatures, cable length, string current, and allowable voltage drop. They should also verify that cable and connector specifications match, then inspect routes for sharp edges, standing water, and unsupported spans. A neat drawing can still miss a hot roof corner or a longer-than-planned run. That deserves a second look. Using cables tested for photovoltaic service, with documented ratings and traceable test information, helps teams make decisions they can verify during installation and maintenance.
Key Materials, Ratings, and Standards for 2026
For 2026 solar projects, cable selection starts with the installation environment, not a headline rating. Look for photovoltaic cables with copper conductors, robust insulation, and jackets tested for sunlight, ozone, and temperature exposure. Tinned copper can help resist corrosion in damp or coastal locations, though it does not replace proper sealing and installation.
Check the applicable cable standard and its exact scope. IEC 62930 and EN 50618 cover common photovoltaic cable requirements; UL 4703 is relevant to many North American projects. A familiar standard is not enough. Confirm the required voltage class, conductor size, temperature range, and certification for the destination market. Many systems use 1.5 kV DC cable, while some designs call for other ratings. Verify the design documents and local requirements.
Details matter. Cable ampacity changes with ambient heat, grouping, conduit, and installation method. A cable on a hot roof may need a larger conductor than one in open air. Check connector compatibility, bending limits, and the cable’s markings before procurement. Ask for traceable test documentation, not just a product sheet. Standards and project rules can change, so verify current editions. Even a well-rated cable can fail when poorly routed; that part is easy to underestimate.
Comparing PV Cable Types for Different System Designs
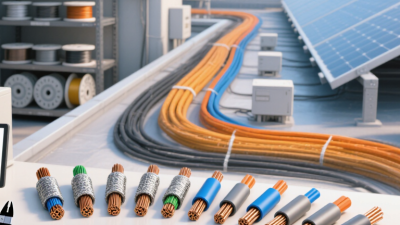
For string-inverter systems, single-core PV cable is common between modules and combiner equipment. Its separate positive and negative conductors are easy to route along a roof rail. Look for double insulation and resistance to sunlight, moisture, ozone, and temperature changes. These details matter where cable rests near hot roof surfaces or passes through exposed sections.
Twin-core cable keeps both DC conductors together, which can make short, paired runs neater. It may be less convenient around tight bends or crowded connectors. Check bend limits before installation. Conductor size should reflect current, run length, voltage drop, and installation conditions; a long cable on a warm roof may need a different choice than a short, shaded run. The calculation is easy to overlook.
System design changes the answer. A central inverter layout may need longer DC home runs, while microinverter systems use AC trunk cabling after conversion. Do not treat those cables as interchangeable. Trackers and other moving arrays need cable rated for repeated flexing, since ordinary fixed-installation cable can fatigue at moving points. That choice is less obvious than it sounds. Confirm connector compatibility and local installation requirements with the project design documents.
How to Select Cables for Site and Environmental Conditions
What Are the Best PV Cables for Solar Projects in 2026?
How to Select Cables for Site and Environmental Conditions
A suitable PV cable is chosen for its route, climate, and electrical load—not just its price. On a rooftop, cables may face intense UV, hot surfaces, and tight bends beneath modules. Ground-mounted arrays need protection from standing water, soil movement, rodents, and maintenance traffic. Check the cable’s rated temperature, UV and moisture resistance, conductor size, and compatibility with the connectors. Then verify voltage drop and current capacity under the project’s actual installation conditions.
Tips: Map exposed runs, buried sections, and connector locations before ordering. Use the applicable cable standard and manufacturer specifications to confirm suitability. Leave enough slack for movement, but avoid loose loops that collect water or rub against sharp edges. Small details matter.
NREL’s 2024 Annual Technology Baseline uses an annual PV degradation assumption of about 0.7 percent for utility-scale systems. That figure is not a cable-failure rate; it does underline the value of planning for long service lives. In hot climates, account for temperature-related ampacity derating. In coastal or industrial sites, consider corrosion exposure at terminations and support hardware. I would still revisit the cable route after installation: drawings rarely show every sharp edge or unexpected puddle.
Installation Practices for Safety and Long-Term Reliability
What Are the Best PV Cables for Solar Projects in 2026?
For solar projects, the best PV cable is one suited to the site, electrical design, and installation conditions. Check its rated voltage, temperature range, UV resistance, and suitability for wet locations. Match conductor size to the design and expected current; do not choose by appearance alone. Confirm that connectors are compatible and installed using the specified tools. A data sheet helps, but it cannot replace a site-specific review.
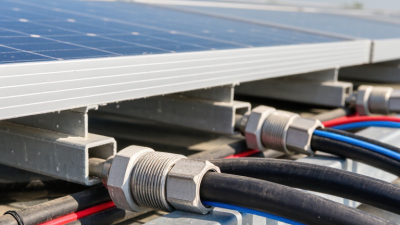
Installation practices shape long-term reliability. Route cables away from sharp metal edges, standing water, and areas where maintenance crews may step. Support them securely without crushing the insulation, and respect the stated bend radius. Leave enough slack for movement and service, but avoid loose loops that can snag or collect debris. A tidy run can still hide a poor connection. Check terminations carefully, then complete the project’s required inspections and electrical tests. Rushing this step is tempting, and worth resisting.
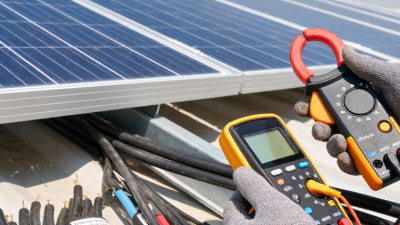
Tips: Before energizing, inspect cable jackets for cuts, verify polarity, and confirm connections are secure. Keep records of cable routes and test results. Small details matter. Have qualified personnel follow applicable codes and the equipment instructions.